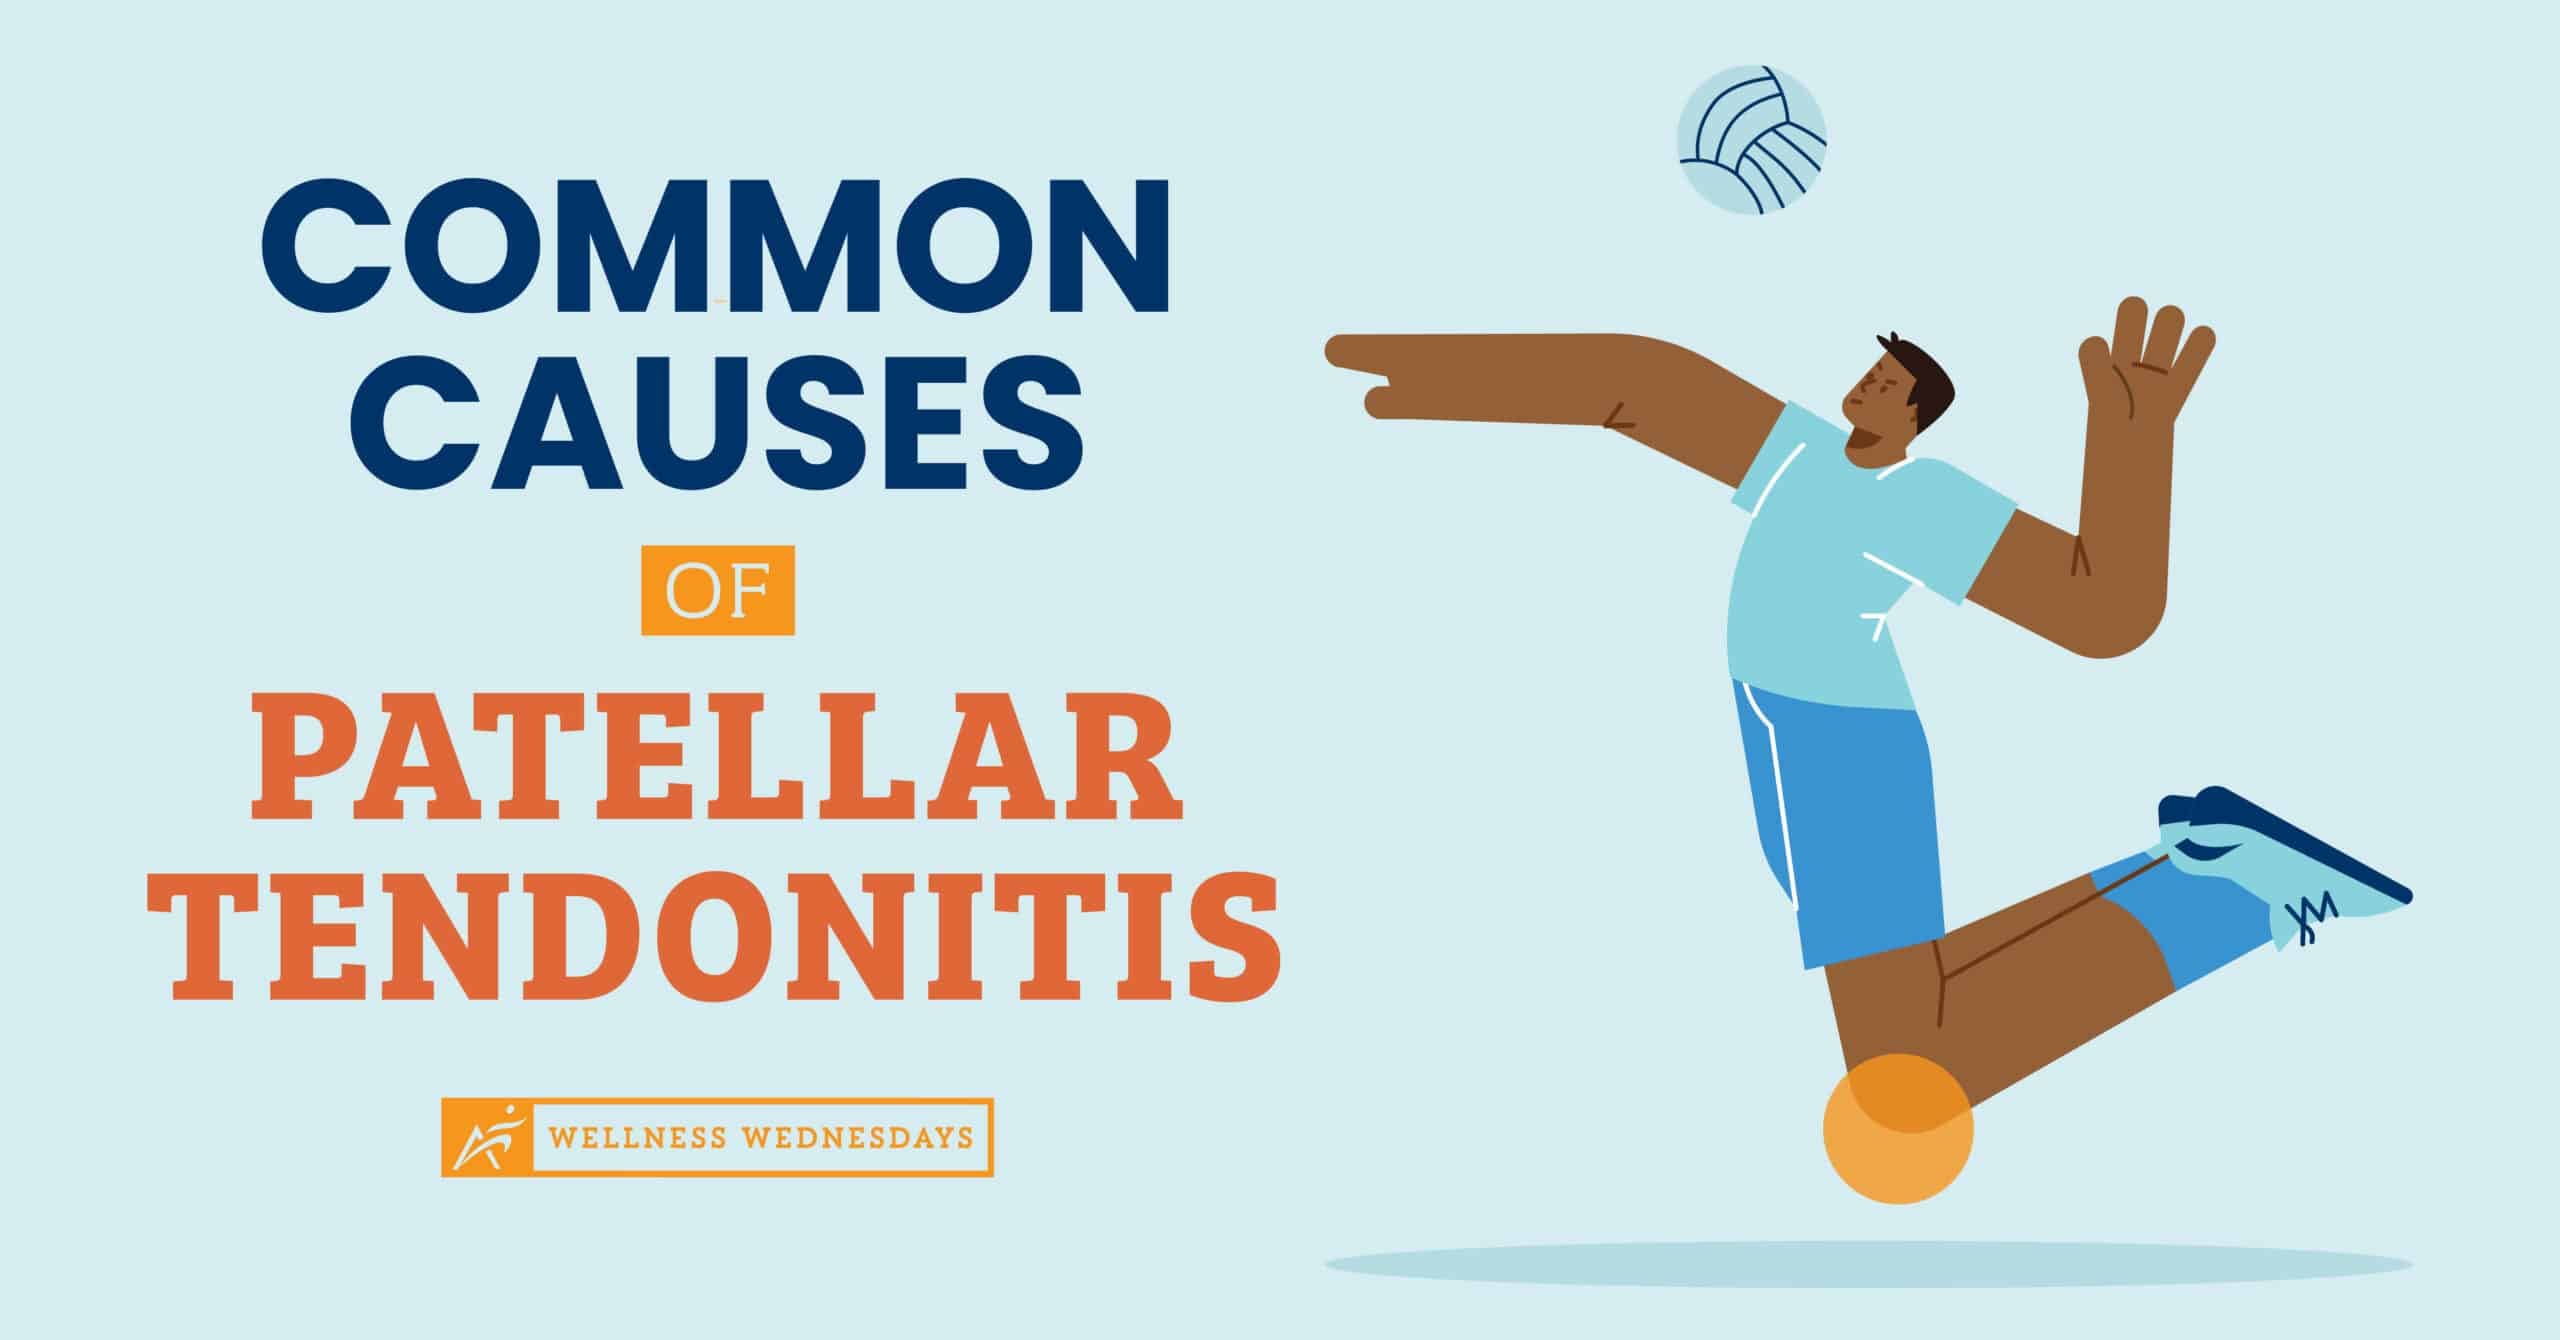
Patellar tendonitis, often referred to as “jumper’s knee,” is a painful condition that affects many athletes and active individuals. It primarily impacts the patellar tendon, which connects the kneecap (patella) to the shinbone (tibia). Read on to learn some common causes of patellar tendonitis, and how to reduce your risk of developing it!
What is Patellar Tendonitis?
Patellar tendonitis occurs when the patellar tendon becomes inflamed due to overuse or repetitive stress. This condition is characterized by pain just below the kneecap, which can range from mild to severe. It’s most common among athletes involved in activities that require frequent jumping, such as basketball, volleyball, or track and field.
The Most Common Cause: Overuse
The leading cause of patellar tendonitis is overuse. Repetitive movements that put stress on the patellar tendon can lead to small tears and inflammation. Athletes who engage in intense training without adequate rest and recovery are at a higher risk. Activities like running, jumping, and squatting can strain the patellar tendon over time.
Other Factors Contributing to Patellar Tendonitis
While overuse is the primary cause, several other factors can contribute to the development of patellar tendonitis:
1. Muscle Imbalances
Weakness or imbalances in the quadriceps and hamstring muscles can affect the alignment of the kneecap, placing additional stress on the patellar tendon. A balanced strength-training program that targets these muscle groups can help reduce the risk.
2. Poor Form When Exercising
Improper movement or form during physical activities can increase the strain on the patellar tendon. Working with a physical therapist or sports medicine specialist can help identify and address these issues.
3. Inadequate Footwear
Wearing inappropriate or worn-out footwear can alter the way your feet strike the ground, affecting the distribution of forces through the lower body. Investing in proper sports shoes designed for your activity can make a significant difference.
4. Sudden Changes in Training Surface
Switching from one training surface to another, especially from a softer surface to a harder one, can increase the risk of patellar tendonitis. Be mindful when transitioning to different surfaces, and adjust your training accordingly.
How to Prevent Patellar Tendonitis
To prevent overuse-related patellar tendonitis, it’s essential to:
- Gradually Increase Intensity: Avoid sudden increases in training intensity or duration. Gradual progression allows your body to adapt and reduce the risk of overuse injuries.
- Proper Warm-Up and Stretching: Always warm up before engaging in physical activity and incorporate stretching exercises to improve flexibility.
- Rest and Recovery: Adequate rest between training sessions is crucial. Listen to your body and avoid pushing through pain.
On top of these tips, adding targeted patellar tendon exercises to your fitness routine can help reduce your risk of developing patellar tendonitis. Try these exercises and stretches to help build stronger knees and supporting muscle groups!
*Disclaimer: Always consult with your doctor before starting any exercise program. If you experience any numbness, tingling, or reproduction of your symptoms, please contact your doctor.
1. Foam Rolling Quadriceps
- Place a foam roller under your thighs and balance on your elbows in a plank position.
- Brace your core and avoid arching or rounding your lower back or lumbar spine.
- Roll from just above the kneecaps to right below the hip area. Look for tender areas.
- Once you locate a tender area, hold it for 10 – 20 seconds or until the pain lessens, then move to another tender area.
- To place a greater emphasis on one leg, cross the back leg over the other leg or simply shift your body weight to one side.
- To target the inner portion of the quads, widen your legs and rotate your feet out.
- To target your outer quads, bring your legs together, touch your toes, and rotate your heels out.
- Perform this for 1 – 2 minutes per section.
2. Kneeling Hip Flexor Stretch
- For this exercise, you will need a stable surface. You will be stretching the hip flexor muscle, or the muscle in the front of the hip, and through the quad.
- Get on one knee with one foot in front of you, or a split stance, ensuring your foot and knee are somewhat far apart.
- Ensure your hips are squared forward so they are not opening to one side and that your back is nice and flat, so you are not arching in the lower back.
- Tuck your tail and squeeze the glutes for the leg with the knee down. This is the side that you will be stretching.
- You will start to feel that stretch in the front portion of the hip and throughout the quad.
- Try to drive the hip somewhat forward without moving forward with this position.
- Squeezing your glutes will help to activate the stretch.
- Perform this twice a day, for 2 sets of 1 minute holds.
3. Eccentric Wall Slide
- For this exercise, you will need a wall. You will be strengthening the lower body through a wall slide.
- Lean up against the wall and place your feet about shoulder-width apart.
- Activate your core muscles by doing a slight pelvic tilt or tucking your tail. You should now feel more of your lower back touching the wall.
- Slowly lower your body down into a squat position. Lower until your thighs are about parallel to the ground.
- Hold here for 5 seconds, then come back up and relax.
- Make sure your knees are not caving or going over your toes throughout the exercise.
- Complete these twice a day, for 2 sets of 5-10 reps.
4. Sidestep Monster Walk
- For this exercise, you will need the elastic band. You are going to be working the glute medius muscle or the muscles on the outside portion of your hip through movement.
- Stand on the band with both feet, at midfoot, then cross the band once in front of you.
- Make sure you have a good grip on each end and stand up straight.
- Slightly hinge at your hips with a slight bend in your knees.
- Step out to the side and move one foot at a time, ensuring you keep that resistance between your feet as you move, but do not bring your feet together.
- Then, slowly come back in the other direction.
- If you start to feel any tension in your lower back, make sure that you are keeping your back straight.
- Perform this exercise twice a day, for 2 sets of 10 reps.
Airrosti: Your Partner in Patellar Tendonitis Relief and Treatment
Understanding the common causes of patellar tendonitis is the first step in prevention and effective management. By adopting preventative measures and seeking professional guidance if needed, you can reduce your risk of developing patellar tendonitis and enjoy a healthier, pain-free active lifestyle.
If you’re already experiencing patellar tendonitis, it’s essential to focus on healing and recovery. Schedule an appointment with Airrosti to see one of our Providers. Your Provider will create a personalized treatment plan for you and provide additional resources to promote recovery. Most injuries can be resolved in an average of three visits (based on patient-reported outcomes).
Airrosti offers both in-clinic and virtual appointment options. For more information, call us at (800) 404-6050.
Read our Medical Disclaimer here.


